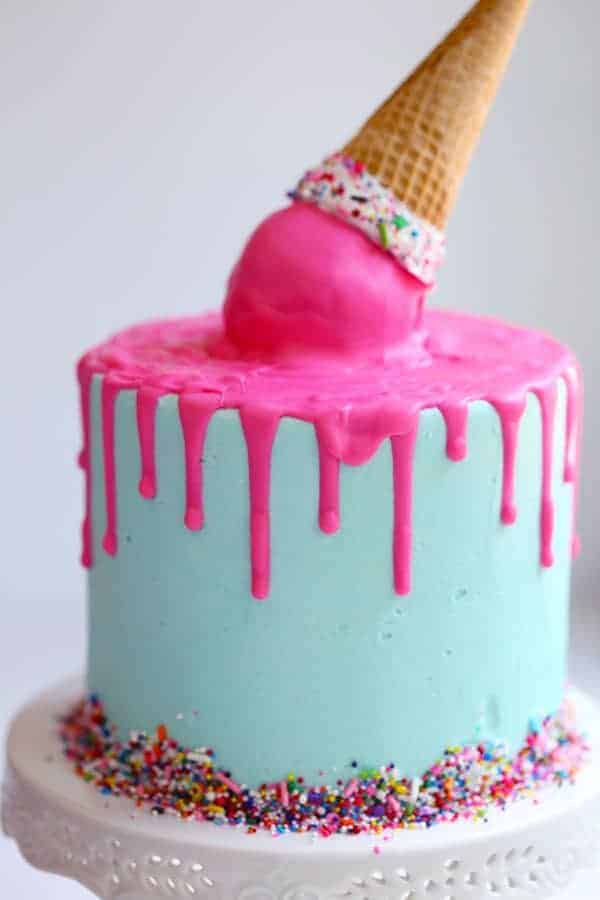
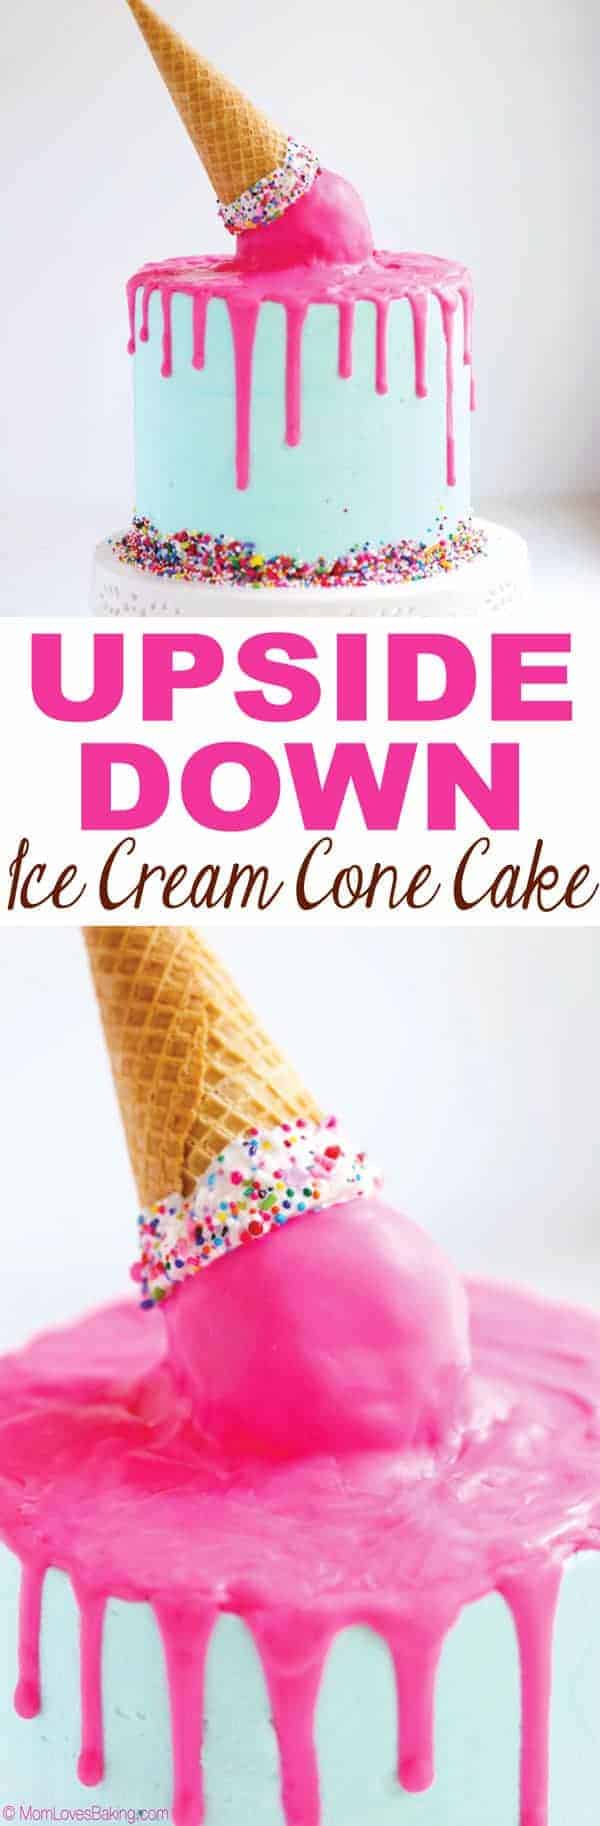
This Upside Down Ice Cream Cone Cake is a vanilla cake with buttercream frosting and what looks like an upside down ice cream cone melting on top. Impress your guests with this show stopping cake!

The Story Behind the Cake
I made this cake for a photo shoot, but wasn't the photographer. Why? Because I needed pics of me for my new blog design. So I wanted a really colorful, fun cake to be in the pictures, so this is what I made with some inspiration from a very talented cake designer - Katherine Sabbath. Isn't it cute?! (Check out her website, it's VERY colorful and she even has a "pop-up" recipe book.)
Scroll down to see the recipe I came up with to recreate this fun cake!
Picture Perfect Cake
I've had this blog for over four years now and thought it was time for a new look. I'm really excited about it. This cake was the perfect prop to have in the background of my main website photo! My friend, Andrea, was the photographer that took the fun photograph of me and this cake on my kitchen island and she did a fantastic job. Here's the photo I'm talking about...

Keep scrolling for DIY step-by-step instructions for making the above cake.
DIY: How to make the Upside Down Ice Cream Cone Cake
This is just an overview, the full recipe is towards the bottom of this post.
1) Bake the cake in 3 (6-inch round) cake pans.
2) Level cakes and reserve tops.
3) Create the "ice cream cone" and refrigerate (full recipe below).
4) Fill and frost the cake with the blue tinted frosting using an offset spatula and bench scraper, add sprinkles and refrigerate.
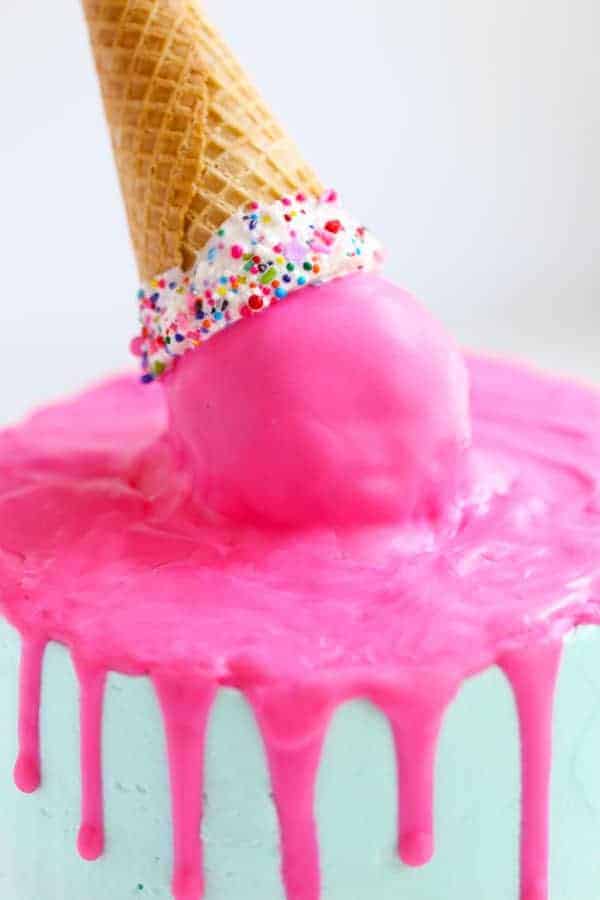
5) Add pink drizzles and upside down ice cream cone.
Now it's your turn. I hope you will make this super cool cake! It would be perfect for a kid's birthday or maybe your favorite adult! It's also delicious. Enjoy!
Tools for success
6-Inch Round Cake Pans (Set of 4)
Stainless Steel Bench Scraper for Smoothing Icing on Cake (Set of 2)
Revolving Cake Stand Turn Table (12-Inch)
10-Inch Cake Boards (Pack of 25)
Note: The above items are affiliate links.
Want even more? Subscribe to Mom Loves Baking to get new recipes and a newsletter delivered to your inbox. And stay in touch on Facebook, Pinterest, Twitter, and Instagram for all my latest updates. If you make this recipe, share a photo on social media tagging @momlovesbaking and using the hashtag #momlovesbaking.
Upside Down Ice Cream Cone Cake
Ingredients
For the CAKE
- 1 white cake mix I used Pillsbury Moist Supreme Classic White
- 1 cup all-purpose flour
- 1 cup granulated sugar
- ¾ teaspoon salt
- 3 large eggs room temperature
- 1 ⅓ cups water
- 2 tablespoons vegetable oil
- 8 ounces sour cream room temperature
- 2 teaspoons pure vanilla extract
- ½-1 teaspoon almond extract depending how much almond flavor you want
For the FROSTING
- 1 cup unsalted butter, softened to room temperature 2 sticks
- 16 ounces powdered sugar about 4 cups
- ¼ cup heavy cream
- 1 teaspoon vanilla
- Blue and green food coloring
For the DECORATION
- 2 cups pink candy melts
- 2-3 tablespoons vegetable oil
- ½ cup white chocolate chips or white candy melts
- ½ cup sprinkles
- 1 ice cream cone (plus 3 lollipop sticks)
Instructions
For the CAKE
- Preheat oven to 350°F. Grease 3 (6-inch) round cake pans and line with parchment paper. Grease again or spray with non-stick cooking spray. Set aside. Place all of the CAKE ingredients (including cake mix) in a large bowl. With an electric mixer, stir on low speed to combine (30 seconds). Then turn mixer up to medium and beat for 2 minutes. Divide batter evenly into the 3 prepared cake pans. Bake in preheated oven for 40-50 minutes or until a toothpick stuck in the middle of the cake comes out clean. Let cool. Level the cakes by cutting horizontally to remove the domed tops. Reserve the cut pieces of cake and crumble into a bowl. Add about ½ cup of frosting. Stir into crumbs until combined. Form into 2-3 large cake balls (about the size of a scoop of ice cream). Place in refrigerator to chill for about an hour.
For the FROSTING
- Beat softened butter on medium speed with an electric or stand mixer. Beat for 3 minutes until smooth and creamy. Add powdered sugar, cream, and vanilla extract with the mixer running on low. Increase to high speed and beat for 3 minutes. Note: If the frosting is too thick, you can add a little more cream. Just add one tablespoon at a time, then mix thoroughly until you get the consistency you like. Add a little bit of blue and green food coloring to achieve a pale blue-green color. Stir well.
To assemble CAKE
- Fill and frost cake with a crumb coat. Refrigerate for one hour. Frost the cake with a smooth finish. Add sprinkles to the bottom sides of the cake. Refrigerate again for 30 minutes.
- Melt the white chocolate according to package instructions. I did it in the microwave. Be careful not to overheat. Microwave for 20 seconds. Stir. Then microwave for 10 seconds. Stir until smooth. Add a teaspoon of oil. Stir. Dip the ice cream cone in the melted white chocolate then add sprinkles. Put on a parchment lined cookie sheet and put in refrigerator to harden. Dip a lollipop stick into melted chocolate, about ¼ inch down. Stick in middle of cake ball. Repeat with remaining cake balls. Set aside. (Note: You only need one cake ball for the cake, but have extra in case you mess up or have taste testers that want to eat them.)
- Melt pink candy melts according to package instructions, being careful not to overheat. Add 2 tablespoons oil and stir until smooth. It should be soupy. You can add a little more oil, if needed. Stick a cake ball into the middle of the cake. Pour melted pink candy melts over the cake ball and stick the prepared cone on top. Working quickly, drizzle sides of cake, then fill in the top section. The cake is ready to serve.
Serving the CAKE
- A note about serving. You can either have 12 big slices of cake or 24 small slices of cake. To get 24 servings, slice the cake (like a pie) into 12 slices. Then cut each of the slices into 2 servings.
Nutrition
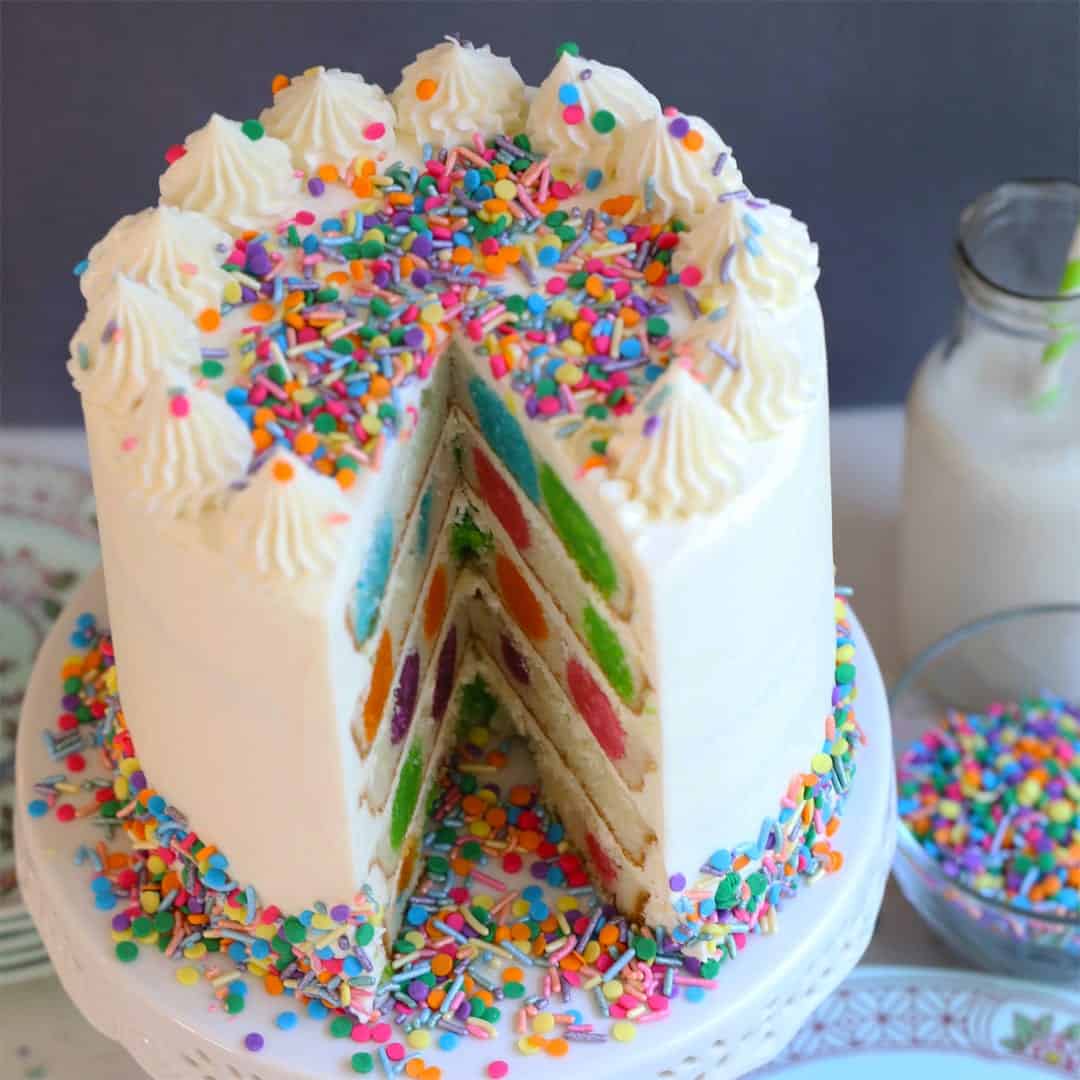
You might also like this Happy Birthday Polka Dot Cake
Don't Forget to Pin to Pinterest
If you like the chocolate drizzles, you might also like this Chocolate Drizzle Semi-Naked Rose Cake.

All text and images © Lise Ode for Mom Loves Baking. Please do not use my images without prior permission. If you want to republish this recipe, please re-write the recipe in your own words, or link back to this post for the recipe. Disclaimer: Nutrition information shown is not guaranteed to be accurate. This post contains affiliate links.
Qiara Houston says
Hi! This is kind of late but for the cake ball does the stick go into the cake or does the stick hold up the cone? Thanks for this great cake inspiration!
Carolyn says
Love it!! Should this be stored in the fridge or the counter overnight?
Lise Ode says
Depends how hot your house it. If you keep the a/c on, it should be fine at room temperature overnight. Otherwise, the refrigerator. But the candy melts drip on top of cake might "sweat" after taking out of fridge.
MandyG says
can this be assembled the day before?
Lise Ode says
Yes you can.
Mastiff momma says
Cake mix by itself with”cake ingredients , not ingredients on the box cake
Makayla says
When I make this cake do I use the “cake“ ingredients that are listed and then the cake mix and the ingredients on the box or just the cake mix by itself with the “cake” ingredients
Janet says
My daughter is so excited for this cake! Do you recommend just frosting between the cakes, or cutting the cakes in half first, so there would be 5 layers of frosting? I want to make sure to have the right cake to frosting ratio and that I have enough frosting. Thanks!!
Lise Ode says
Hi Janet, I don't think there will be enough frosting if you cut the layers in half and have 5 layers of frosting. You would need to make more frosting for the extra layers.
Carrie Carter says
Hi!! I was wanting to make the cake bigger and use 9 in pans instead of the 6in. Should I just basically double the recipe or what is the best way to do that??
Lise Ode says
Yes, you could double the recipe. Keep in mind that you might have some extra batter though in which case you could make some cupcakes.
Shamina says
Beautiful cake. Sorry, I do not see responses to the question, ' do you use the cake mix + all of the other ingredients '? Thank you for kindly responding, as I'd love to try your recipe.
Mom Loves Baking says
Use all of the "cake" ingredients for the cake, including cake mix.
marieanne says
do we use the cake mix and all the other ingredients or is it either or???
Mom Loves Baking says
Use all of the "cake" ingredients for the cake, including cake mix.
Kierah says
Hey! This cake looks awesome and the recipe is exactly what i was looking for! I am baking the cakes as im writing this. I generally get how to make the icecream cone top...but am just confused as to where the 2-3 balls of cake come in...i only see the one. Why do you write to make 2-3 and to continue the stick dipping and sticking into the other balls... ?? Lol i have read it like 3 times to figure it out. Thank you!
Mom Loves Baking says
You only need one for the cake, but make a couple extra in case you mess up.
Susan says
So do you use a cake mix plus all of the other ingredients, or is it either/or?
Lorenzo says
I made this from your instructions above and it was a huge hit at my daughters 2nd birthday. Thank you so much 👍🏽
Mom Loves Baking says
Use all of the "cake" ingredients for the cake, including cake mix.
usps tracking says
wow, looks delicious, i will try my family to eat, thank you for sharing the way
Andrea says
You are extremely talented and it was a lot of fun doing your photoshoot! I loved the colors and your new kitchen (*swoon*) I'm looking forward to seeing the new website!
madhaviragu says
Its look too natural and easy to make it.I will try it.